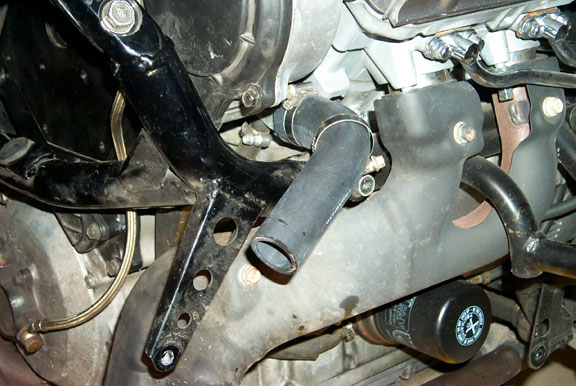
New lower radiator hose.
Carb removal and Cooling Hose Replacement 2/15/2003

New lower radiator hose.
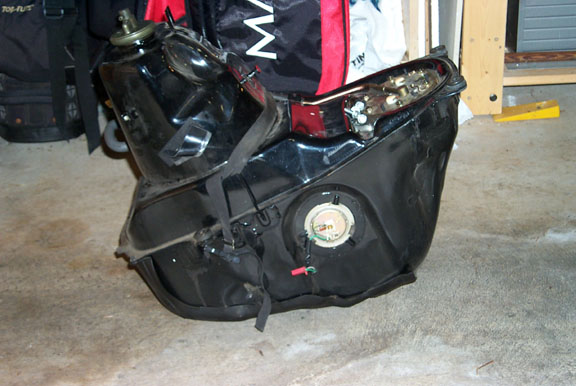
Pull the tank to get easy access to the area beneath the carbs.
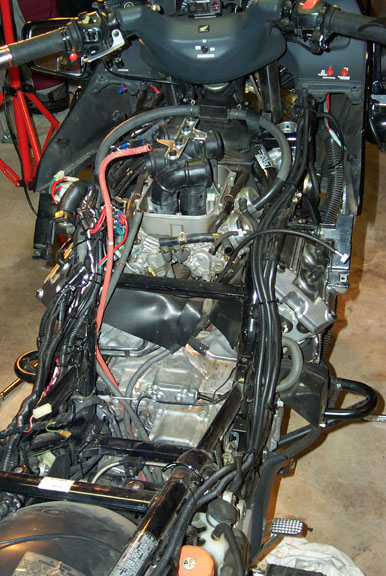
Preparing to remove the carbs.
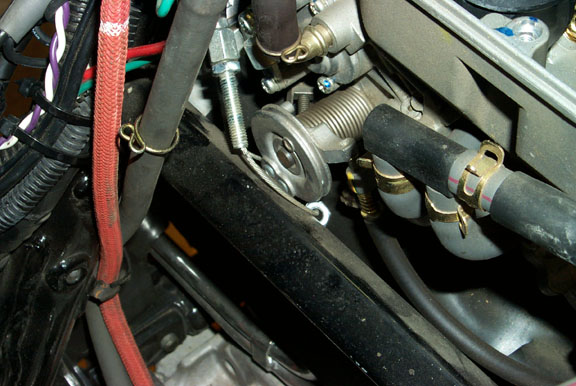
The manual says to remove the throttle lines before pulling the carbs. It's
easy
after you've lifted them.
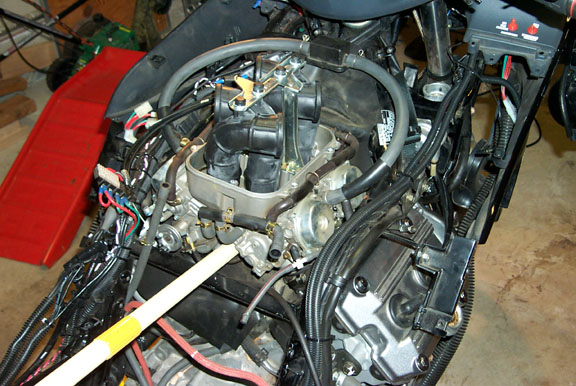
As others have done I used a broom handle to start the removal. Once they
begin
to move it's
pretty easy to rock them back and forth and pull them.
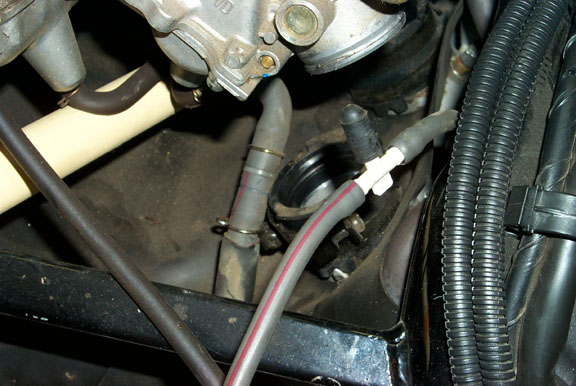
The bowl drain line has to be un-hooked before you can lift the carbs. You
can
also see the screws
on the rubber collars in the background. Two of mine weren't
even tight!?
Someone must have
sub-standard job in the past on my bike!!
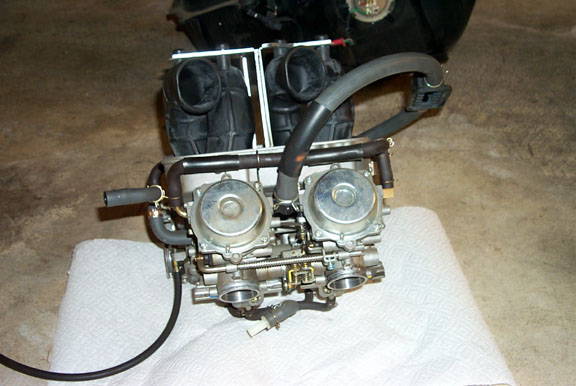
Carbs removed. You can access the rebuild page
here.
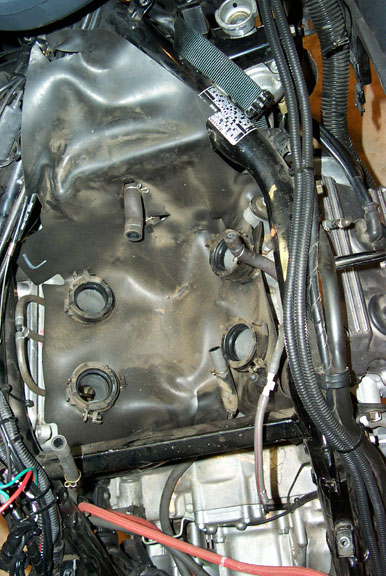
You can see the other front breather hose that needs to be disconnected
to pull the carbs in the upper part of this picture.
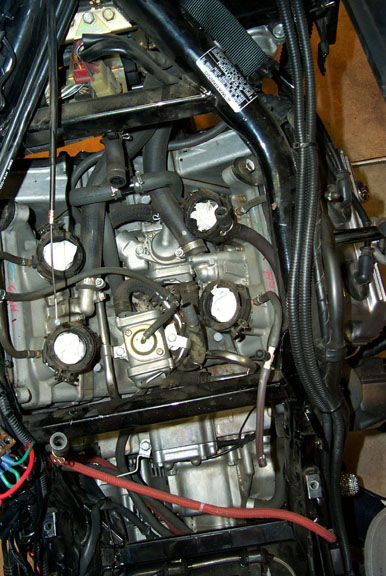
This is what you see after removing the rubber pad. Put something
in the intakes to prevent crap from falling in. Click here
to see the
'after PAIR removal' picture below. Click
here to see
more detailed
information on removing the PAIR system.
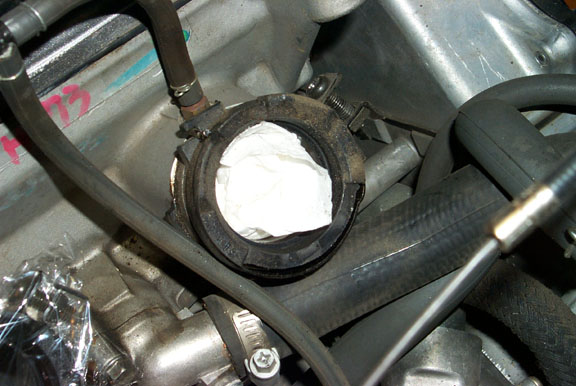
The upper retaining straps have little pins that are <supposed> to be in the
little
collar slots. You
can see one here at about 11 o'clock in this picture. One of the
lose collars
was rotated and didn't
have the pin in making it nearly impossible to
reach! They should all be facing
out to the sides of
bike when properly installed.
The lower collars can be just about anywhere since
they are accessed
after you
pull the carbs.
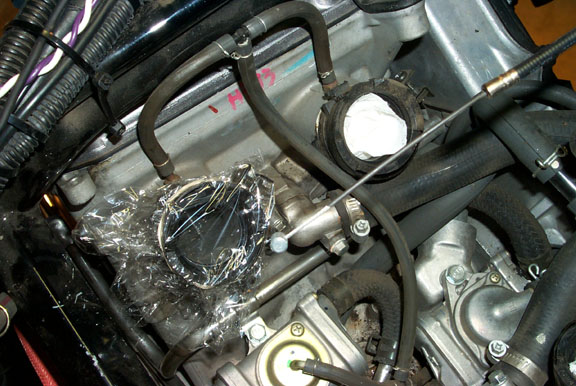
After cleaning the straps and inserting them onto new collars I installed
them and
covered them in
cellophane before moving onto the hose replacement. There's a
fair amount of
dirt and bugs in the
'V' of the engine.
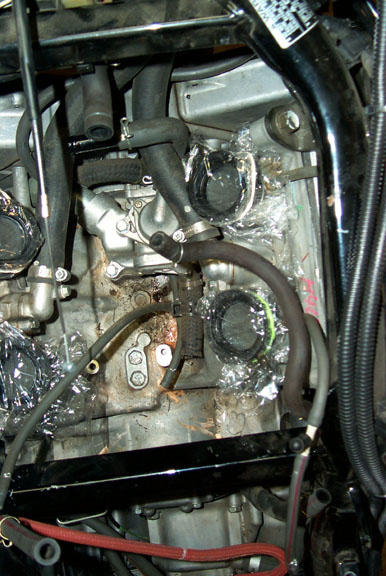
On to the PAIR removal. I had to cut the hoses with a small hobby
saw to detach the pieces from one another. I can believe John O
was able to remove, clean and then reassemble all this stuff! It was
a lot of work to just rip it out! First one has been removed here.
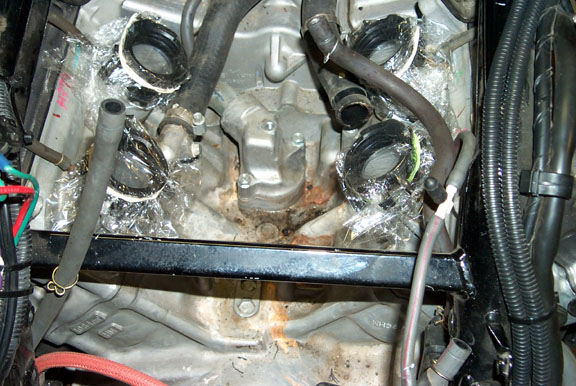
All the PAIR equipment removed. Look at all the room!
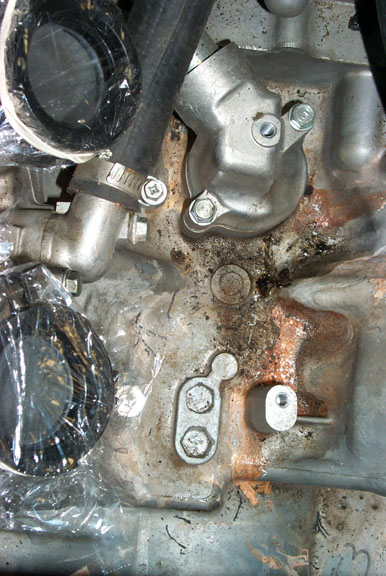
Close up of the grime.
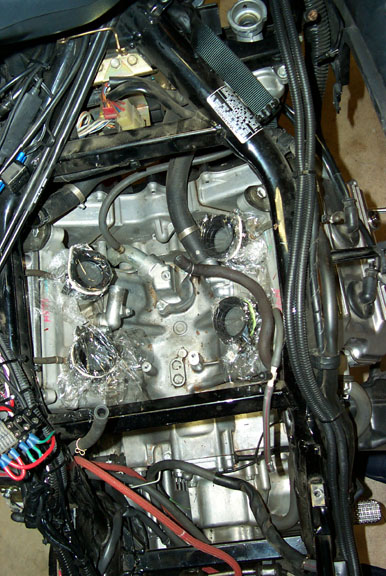
Bigger view.
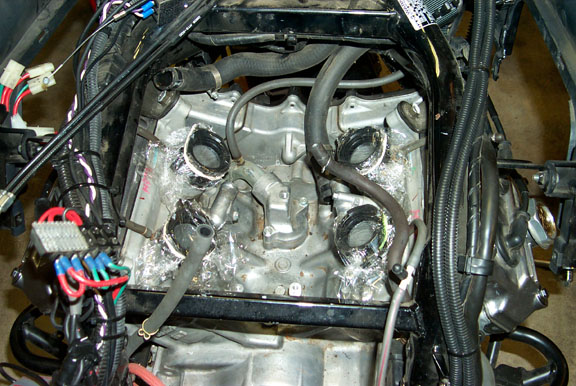
After the cleanup. Nice!!
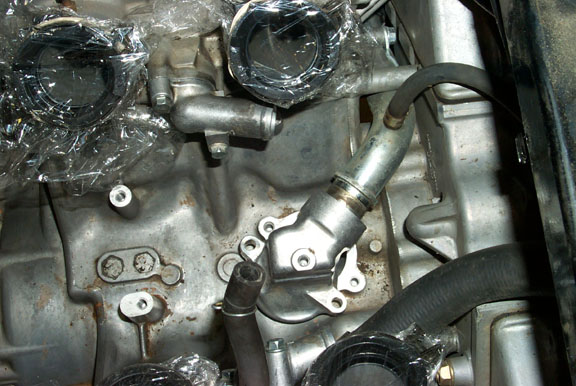
Per tip #2 on Mike Martin's site you can remove the housing on the block.
Just
loosen the bolt just
visible in the upper right of this photo before unbolting the
two housing
retaining bolts. You can then
lift the housing just enough to pull it
from the line.
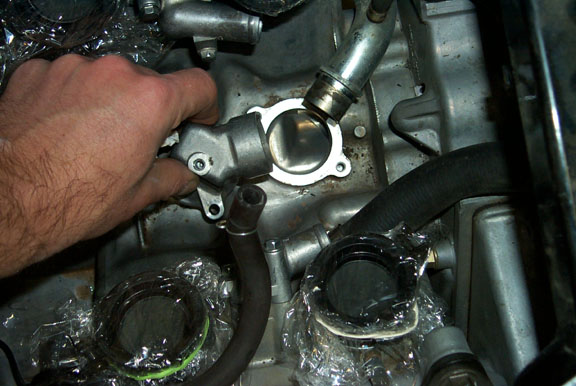
I never would have guess this could have been removed. WOTL, (Wisdom Of The
List), to the rescue!
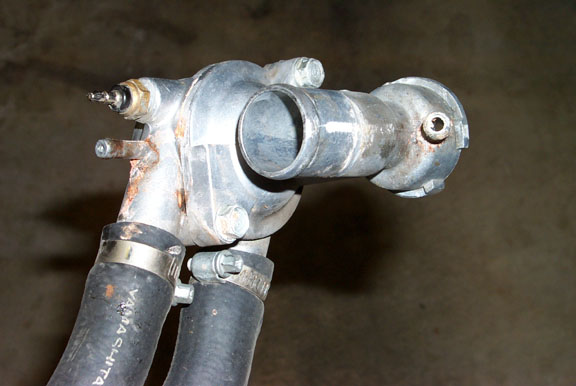
The thermostat housing also shows some evidence of leakage, but it cleaned up
nicely.
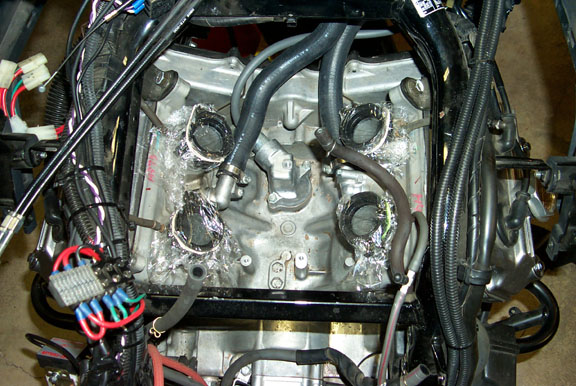
New cooling hoses in place. There will now only be one line to connect before
dropping the carbs
back in. That would be the carb bowl drain line just visible in
the lower right
hand corner. There will
be plenty of room for cooking road kill in
here now! ;-) Click
here to see the
'before PAIR removal' picture above.
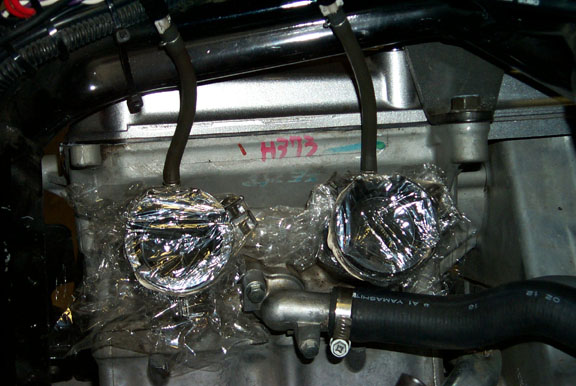
New hoses for carb syncing. I made them longer so they'd be easier to get to.
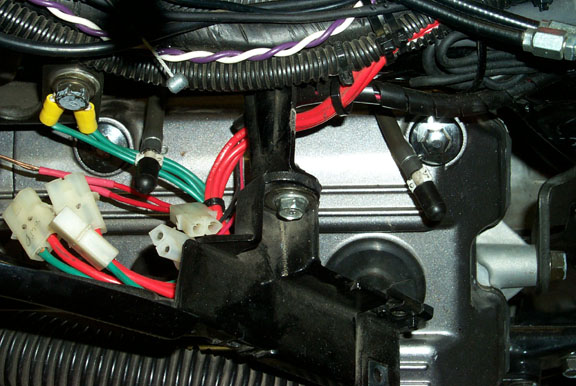
The other end of the sync tubes.
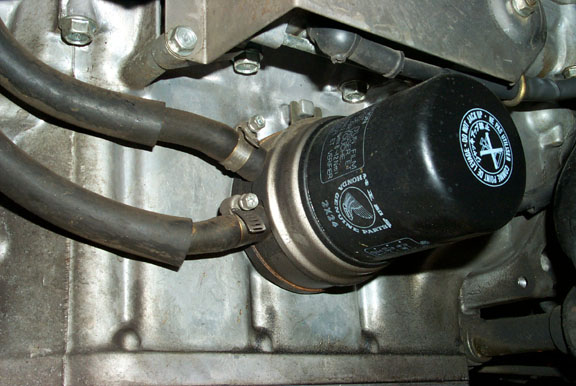
Oil cooler hoses before the change.
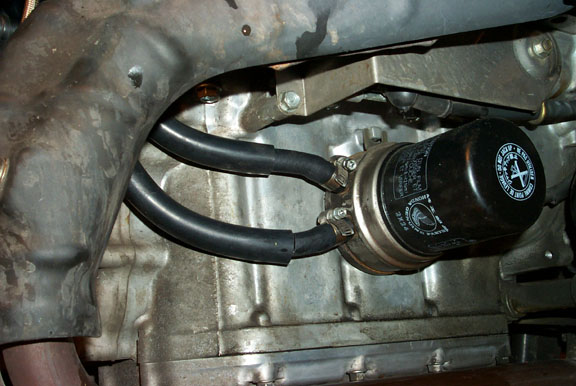
Nice clean new ones. It's a real pain to get to the clamps at the top ends of
these!
Pertinent link to Mike Martin's web site. Good stuff! This link too!
Return to ST1100 Farkels
page.
Return to Motorcycle links page.