Windshield Restoration
The original equipment ST1100 windshield is made of polycarbonate plastic, a shatter-resistant material. Polycarbonate is durable, but it is subject to weathering, like the polycarbonate headlights on most cars. If you've ever tried to polish out some scratches from the windshield using a mild abrasive polish, you've probably figured out that there's some sort of coating there that is removed from the area you polished. Have you ever wondered whether the headlight polishing kits would work to restore the windshield? So have I.
BTW, most aftermarket windshields are made of an uncoated acrylic plastic, which polishes up nicely with normal plastic polish or plastic cleaner.
Several months ago I received an email from James Lewis, who used one of those headlight polishing kits to restore his ST1100 windshield. He wrote,
|
Mike,
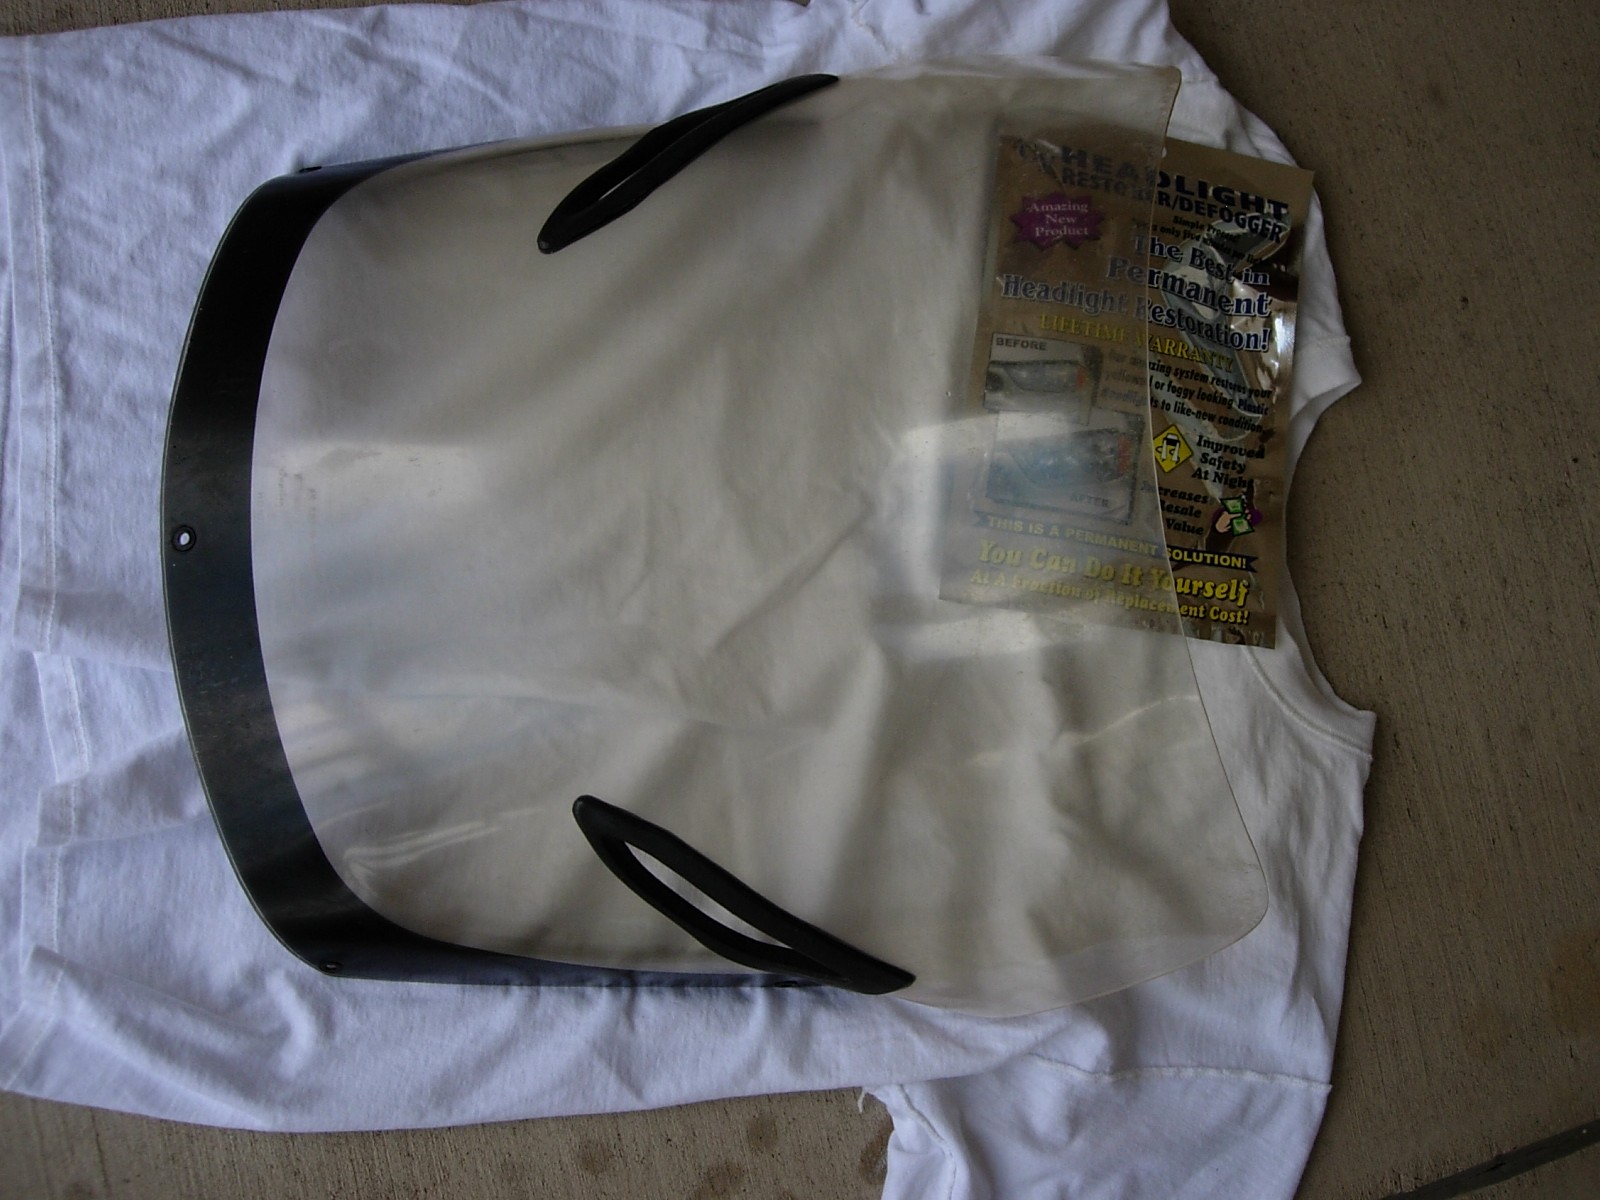
I've been in the ST mode this weekend, and I thought you might be interested in a windshield restoration project I undertook. The product I used came from Wal-Mart for ~20$. There was barely enough polish & sealer, but then again the product is for headlights on a car & not both sides of a windshield. Here's the product.
If you are interested in posting this on your website, please do. I can write you some more comments on it, if you like.
James
ps-look at pic 1 and compare to pic 8. The others are just the steps in between.
|
If you click on the link in the email, you'll be taken to a web site with the information about the product James used. There, you'll find a link to streaming video directions. I must say that it will take a bit of courage to start wet-sanding your windshield, but the results James saw may be worth it all.
Here are the photos James attached to his email:
|
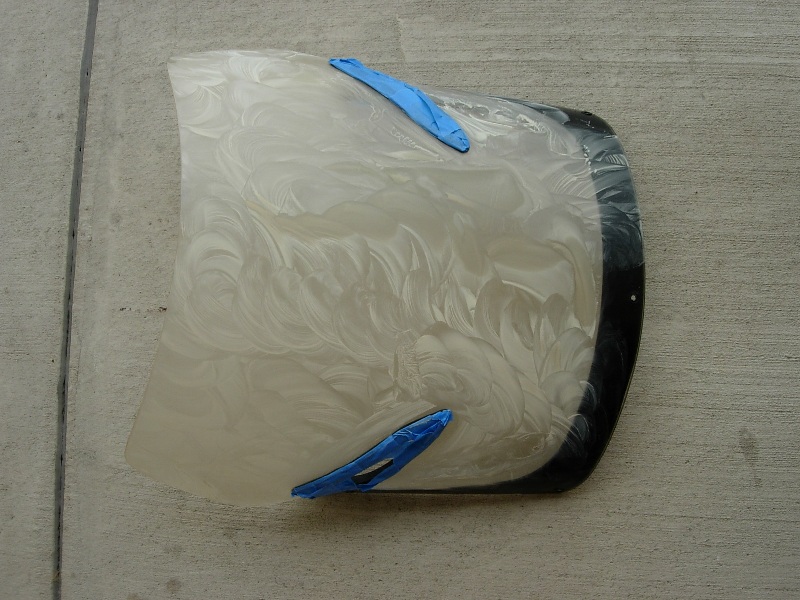
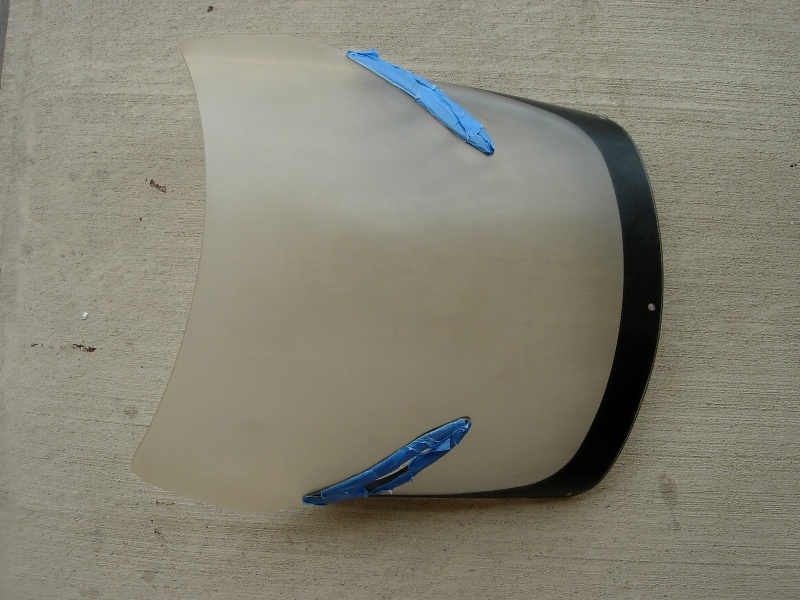
1 
My Windshield, 10 yrs. old
|
2 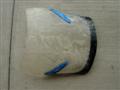
Initial Sanding
|
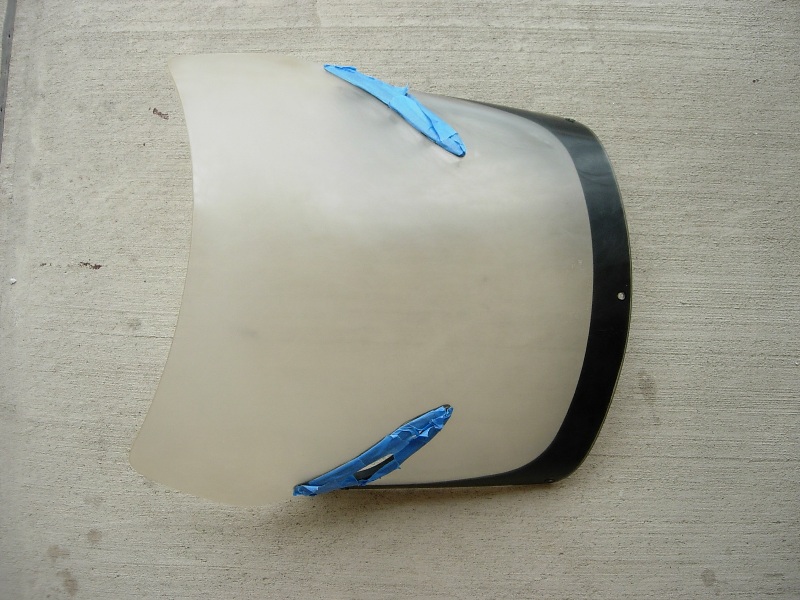
3 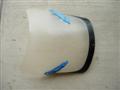
Initial sanding, cleaned up
|
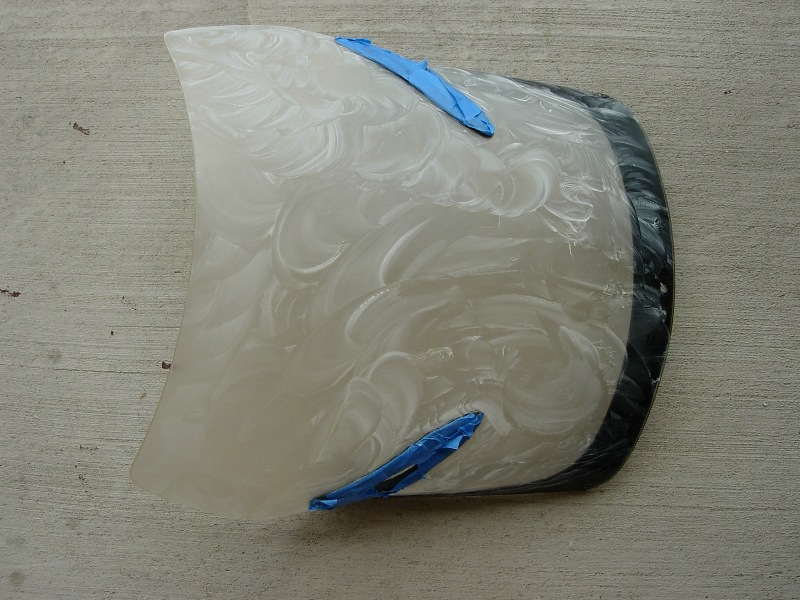
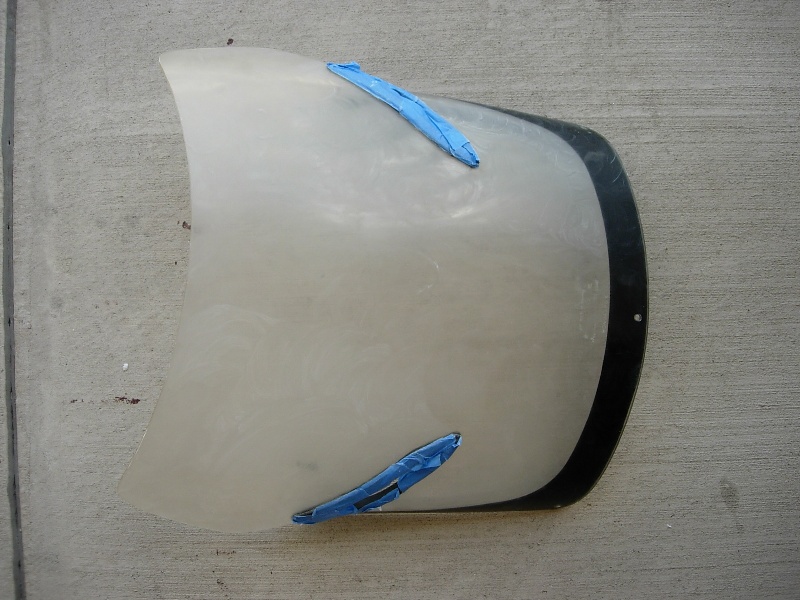
4 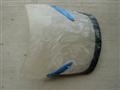
Fine sanding
|
|
5 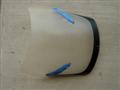
Fine sanding, cleaned up
|
6 
First polish
|
7 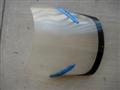
First polish, wiped down
|
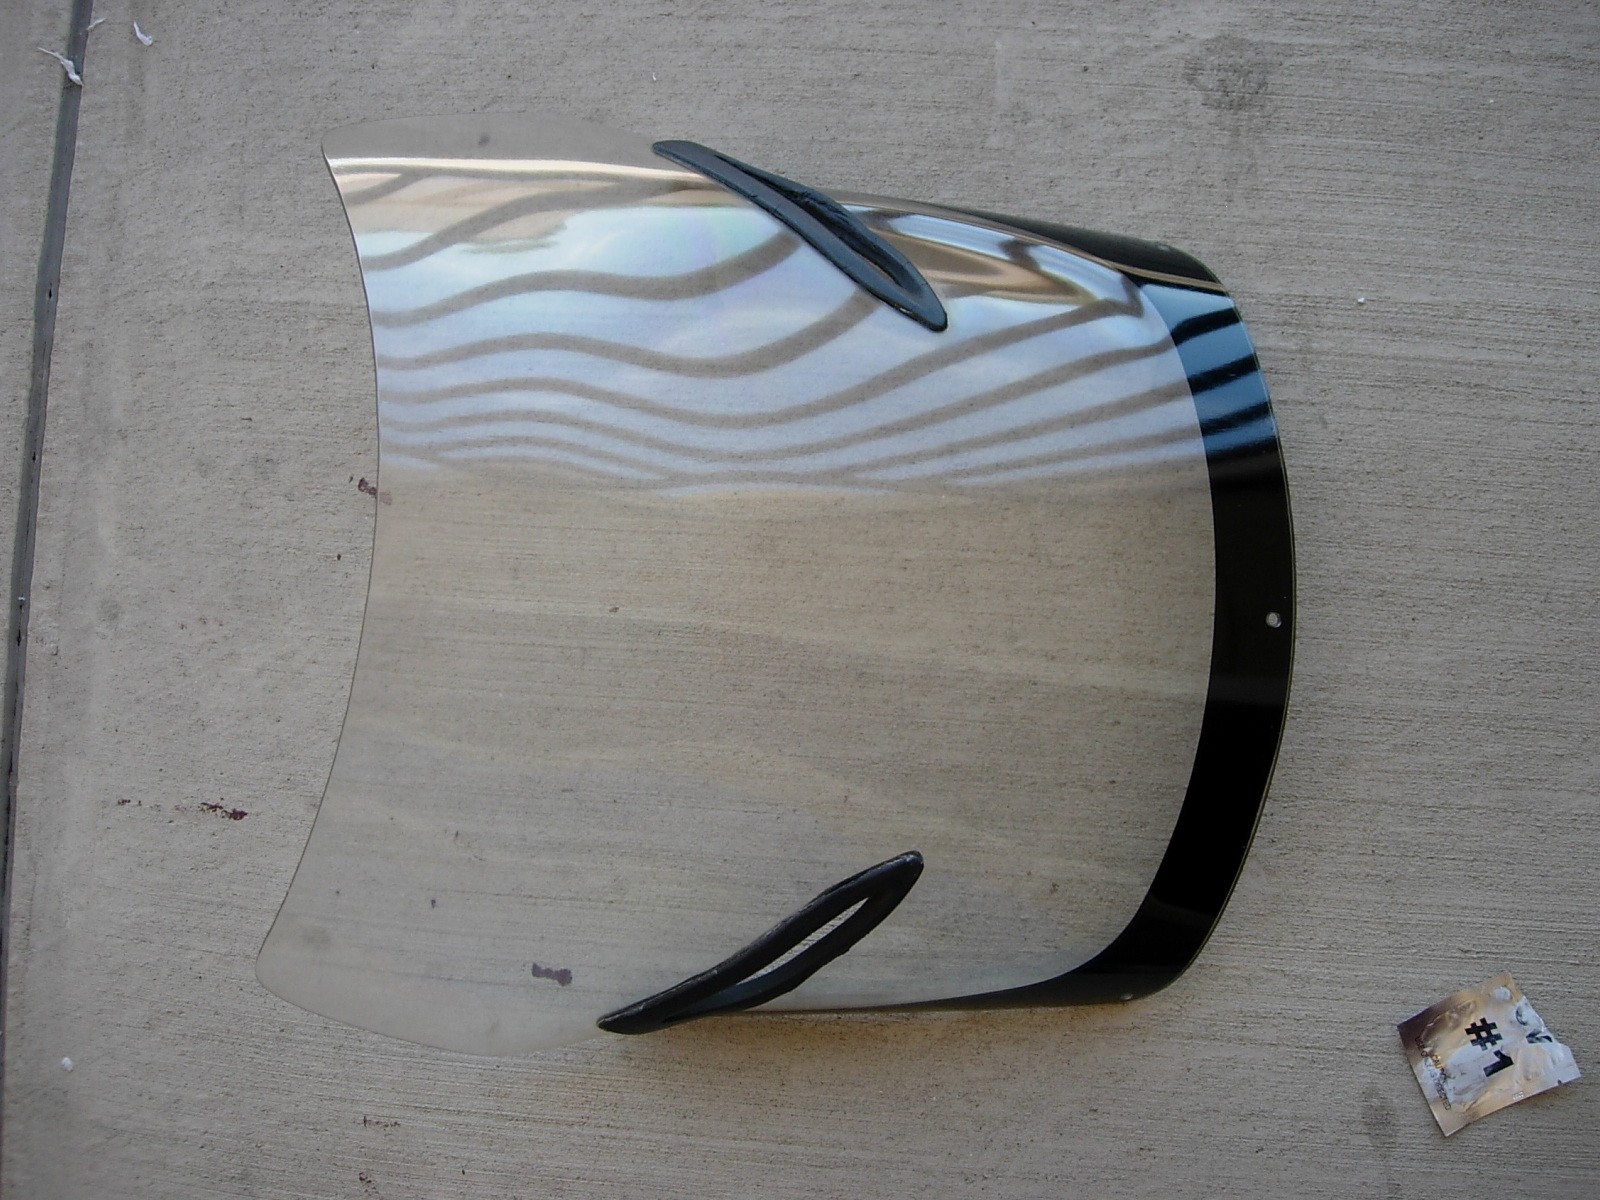
8 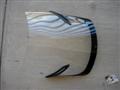
Front & back complete
|
I got an update from James on how the restoration has held up for six months.
|
Hi Mike, the finish is holding up just fine.
Two more comments for you: It took me about 3 hours, not including 'drying' time, but I could do it again in half that time or less. Lastly, after the first polish is cleaned up, a protective clear coat is applied. It dries really fast upon application, so don't try and touch things up 5 min. later because you'll certainly make things worse.
Cheers!
James
|
[ Top of Page ]
Last updated on January 28, 2014 © 2008-2014 M. E. Martin, all rights reserved.