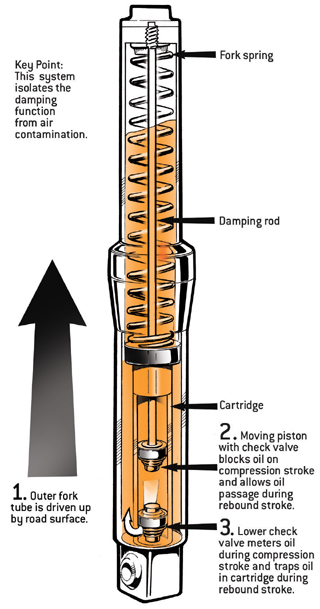
Nice diagram of a cartridge type fork.
Sonic Fork Springs 4/15/2007
Update 8/9/2012: 30mm - 35 mm should be more like 1-3/16" to 1-3/8". Guess I need to tweak my spacers....
Update 9/2/2007:
With the help of Steve Wendelboe, I was able to check my front end sag
while we were in Redlodge for BearSTOC. We measured the front sag to be 3/4"
which
is what I was shooting for. I wasn't wearing my gear, nor did I have the bike
loaded with gear, but I was shooting for 3/4 to 1". So I should be right where I
wanted it!
Nice diagram of a cartridge type fork.
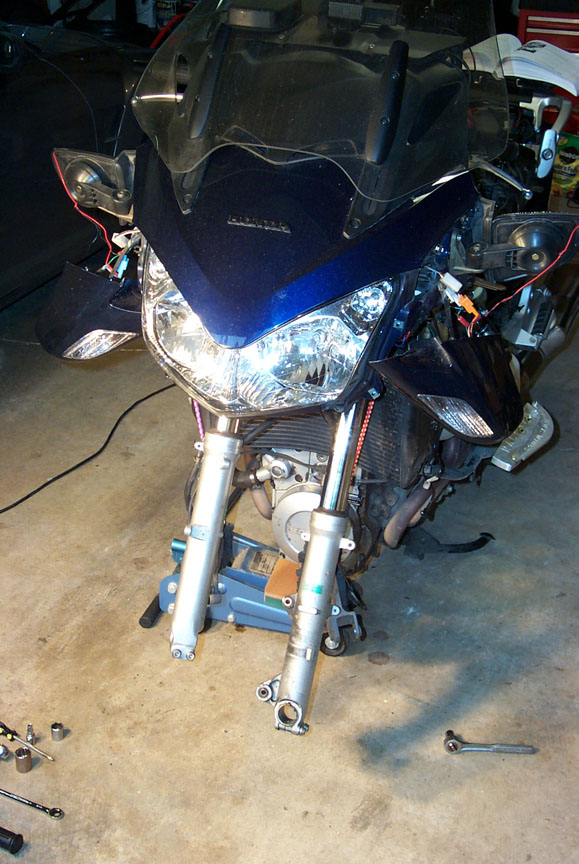
Remove the front wheel. It's easier to pull the left fork first, then the right.
This
is due to the brake assembly that bridges between the forks.
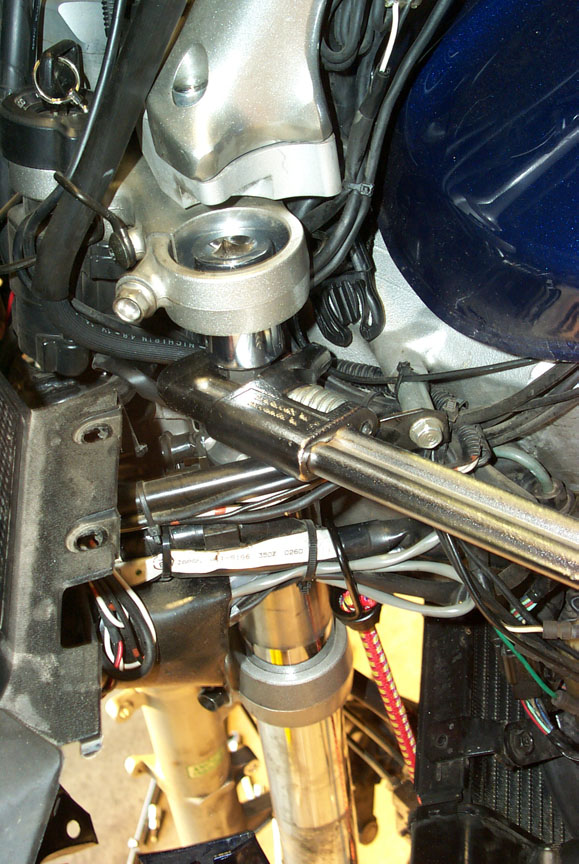
If you have bar risers like I do, you can't get the cap removal tool onto the
cap
unless you lower the fork first as shown here.
Be sure and support the brake calipers with bungees.

The sonic springs are longer than the stock springs. So the spacers will be cut
shorter.
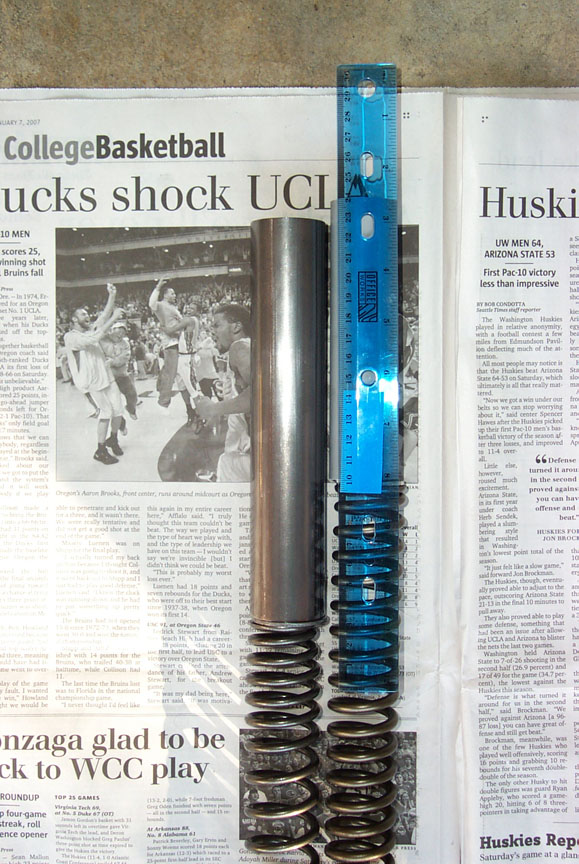
130mm gives you a stack that's the same height. But you'll lose 5mm in the cap
as shown below.
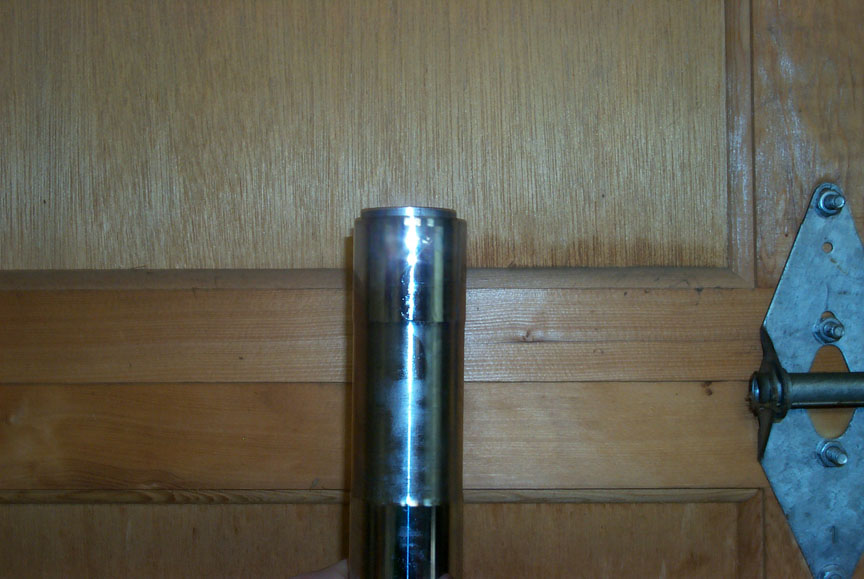
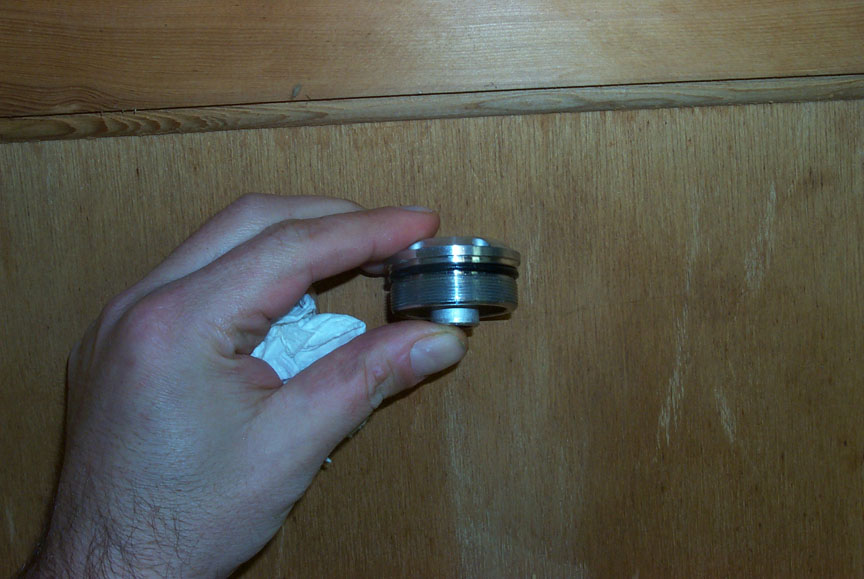
Here's the Sonic spacer material installed on the cap.
You lose about 5mm as shown here. The washers supplied by Sonic interfere with the
cap retaining bolt and can't be used.
They supplied 4 washers, I only used 2 of the 4, one in each fork between the
springs and the spacers.
With the stock spring, washer and spacer you get 3.2mm (1/8") of preload. Add this to
the cap preload shown below to get the
total preload.
You get an additional 15mm (19/32") of preload from the cap when using the stock
spacer. Total stock preload is a little
over 18mm (23/32" nearly 3/4").
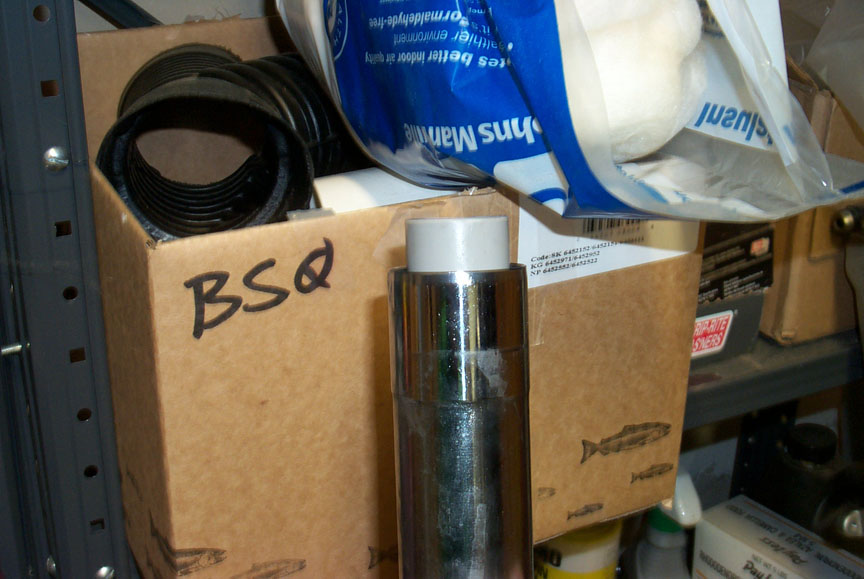
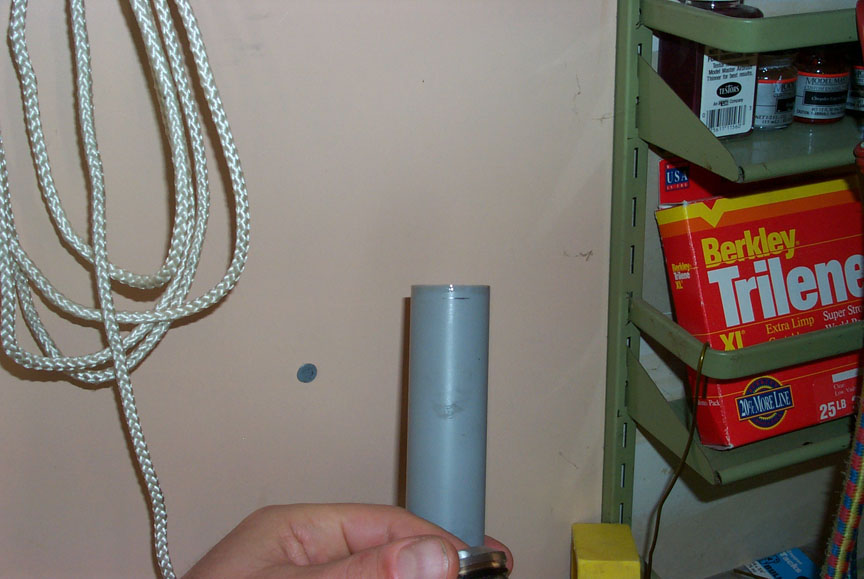
So, I cut my spacers to 140mm. I get 15mm (.59") extending beyond the fork tube
as shown. Add the 15mm (.59") from
the cap, less the 5mm (.2") of spacer that rides up into the cap, and you get
25mm (.98") of total preload.
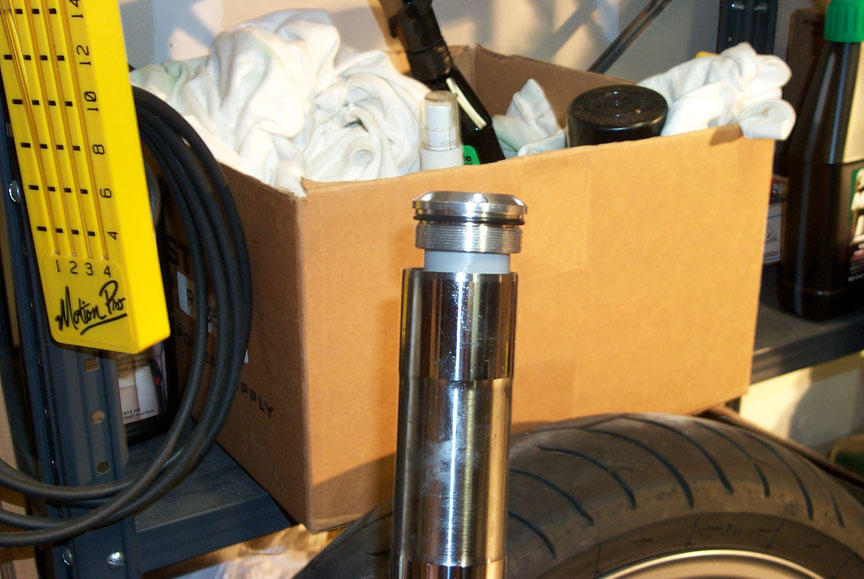
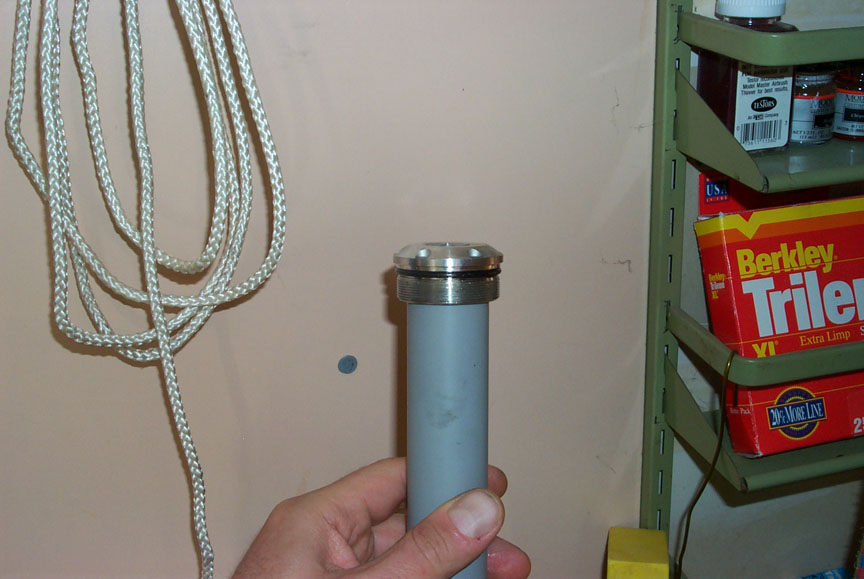
Here's the fork with the cap tightened just enough to contact the riser. The gap
between the top of the fork tube and the
portion of the cap that contacts the tube is 25mm (.98"), or the preload.
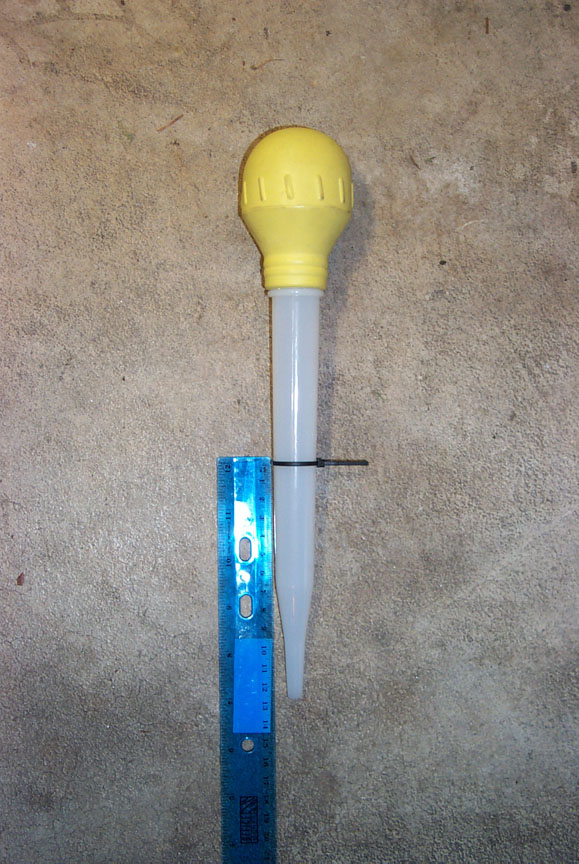
I used a turkey baster with a zip tie at 125mm to set the fluid level in the
fork. Just overfill it and slip the baster into
the fork and suck out the excess fluid. I opted for Bel-Ray 7wt fork oil. One
quart is not quite enough.
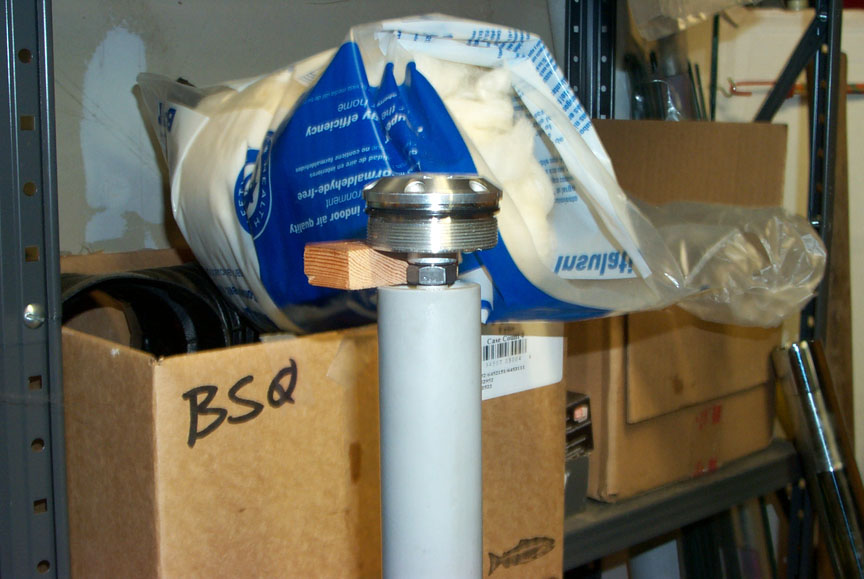
I used a piece of 1/2" lumber to hold the spacer down so I could tighten the
retaining bolt.
Set the sag per these instructions from the Sonic website.
|
Return to ST1300 Farkels page.
Return to Motorcycle links page.