Remove the mirror housing.
PIAA 912's 8/2/2004
Remove the mirror housing.
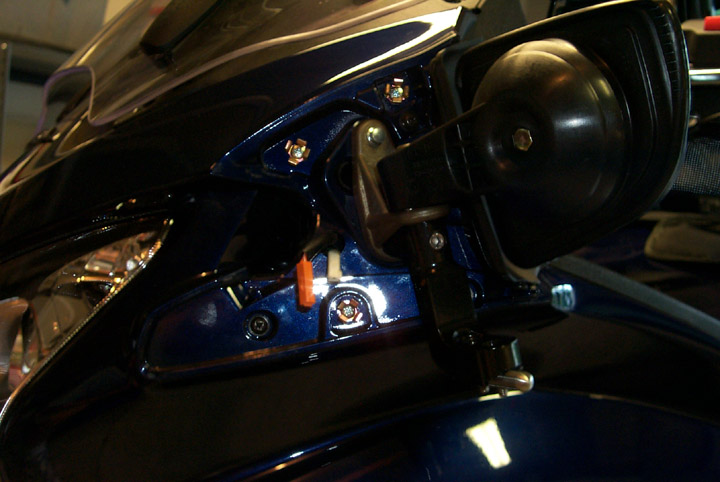
The PIAA mounting brackets attached via the lower mirror mounting bolt. The
stock bolt is removed.
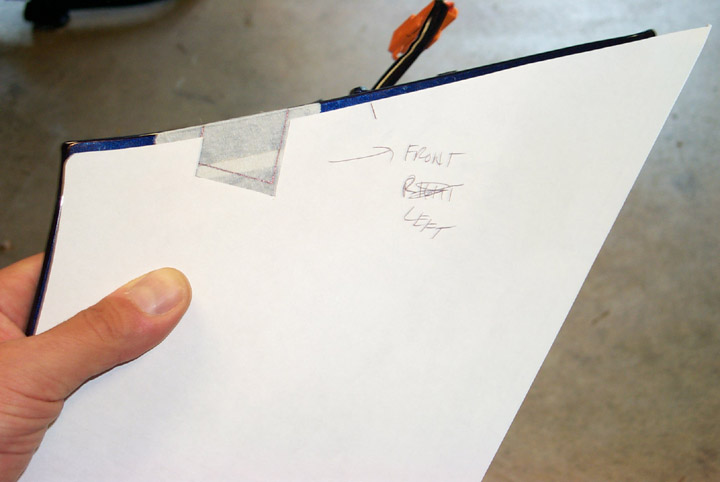
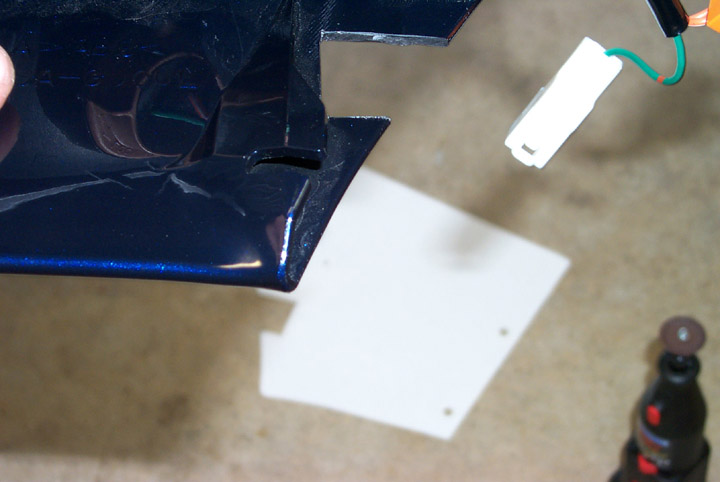
I developed this template and my friend Patrick drew it up and converted it
to PDF. You can get it
here.
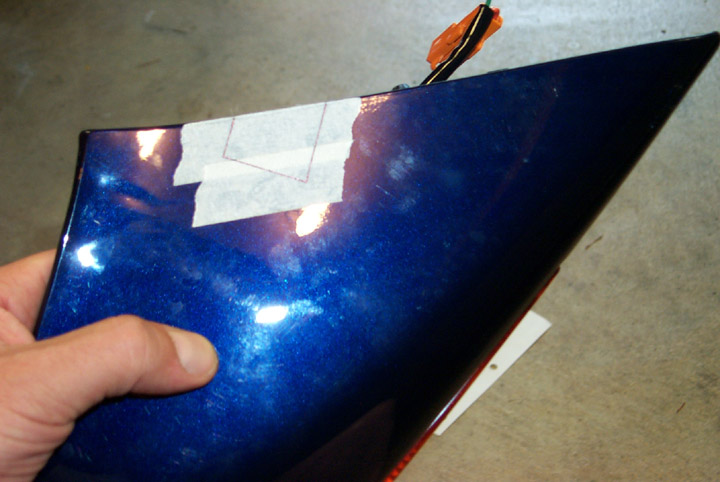
I used masking tape on the mirror housing so I could transfer the template to
it.
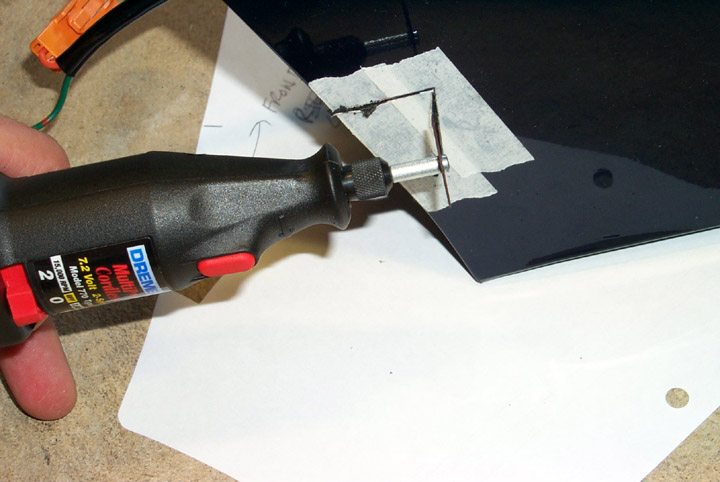
A Dremel was used to cut the openings.
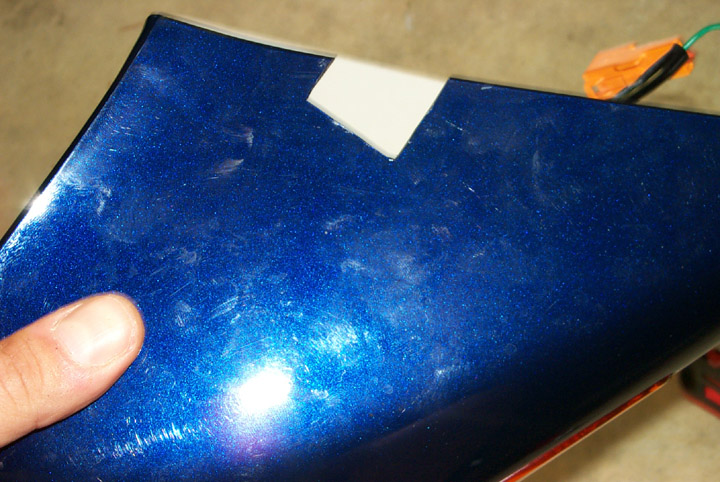
The finished opening.
Another view.

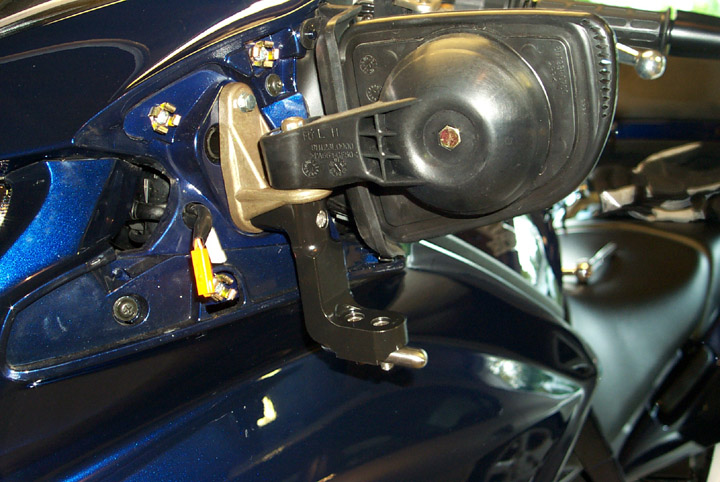
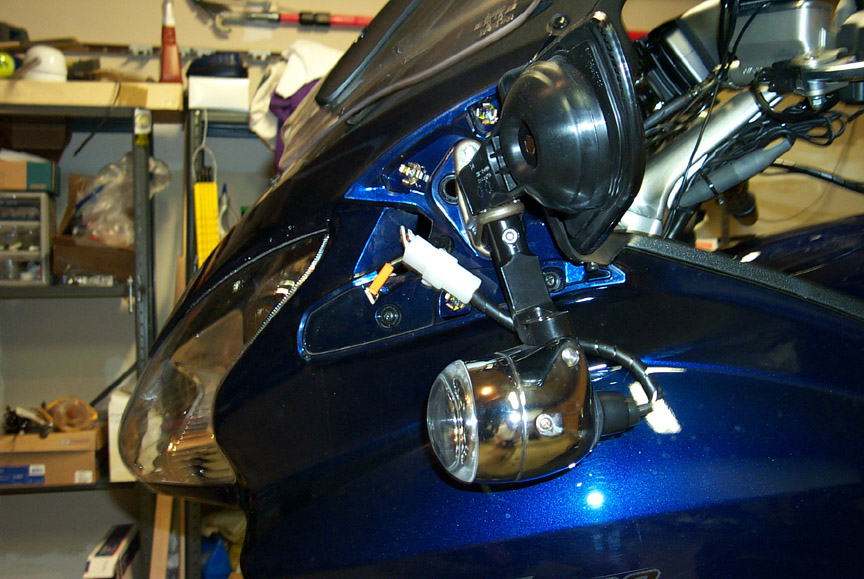
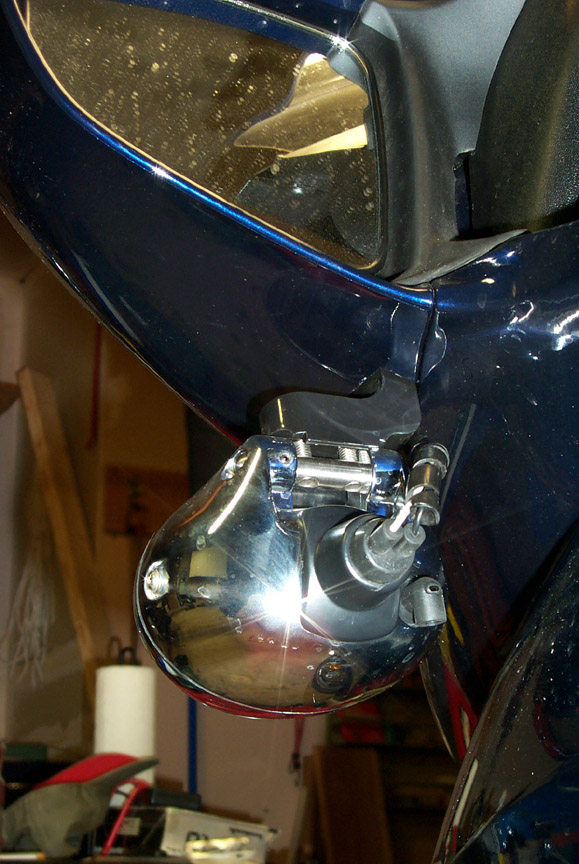
The mount in place with the mirror housing in place.
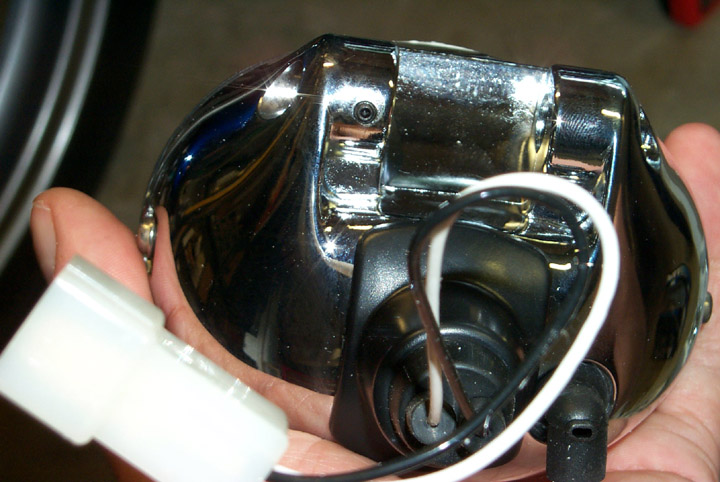
Loosen the small allen screw to remove the stock mount.
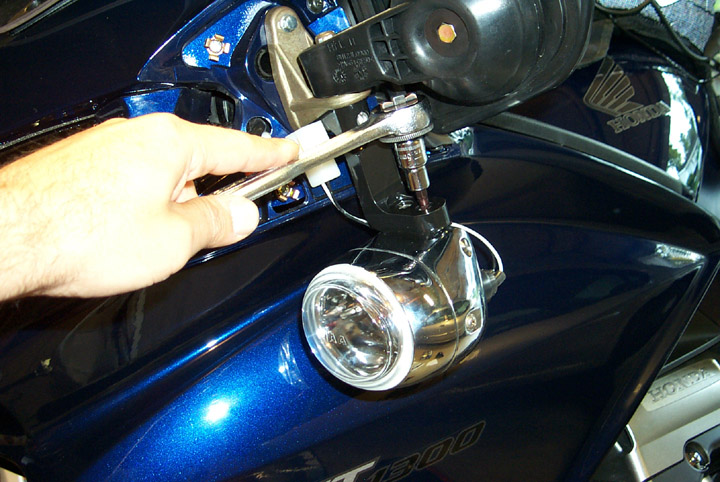
The rod from the PIAA mounting bracket takes the place of the stock mounting
hardware.
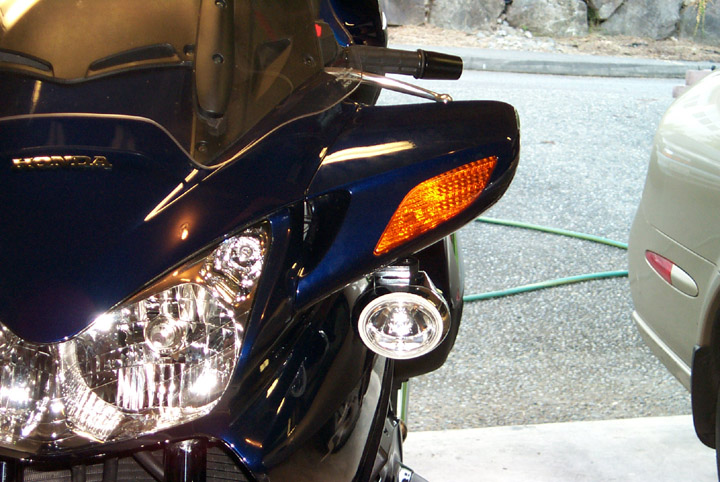
The chrome looks good with the dark blue!
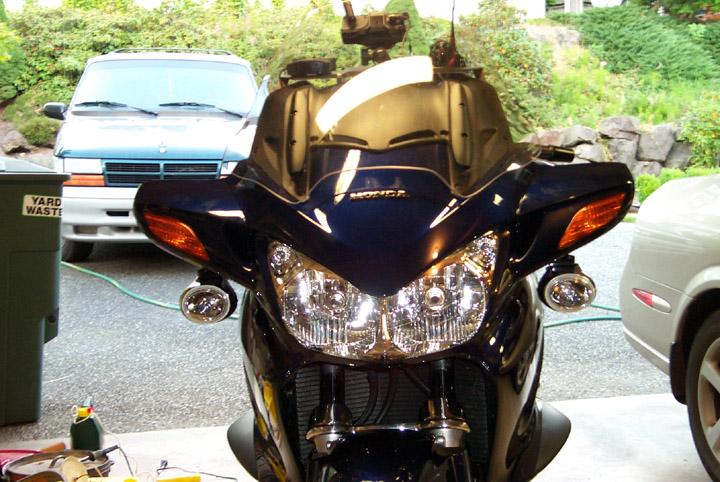
Front view.
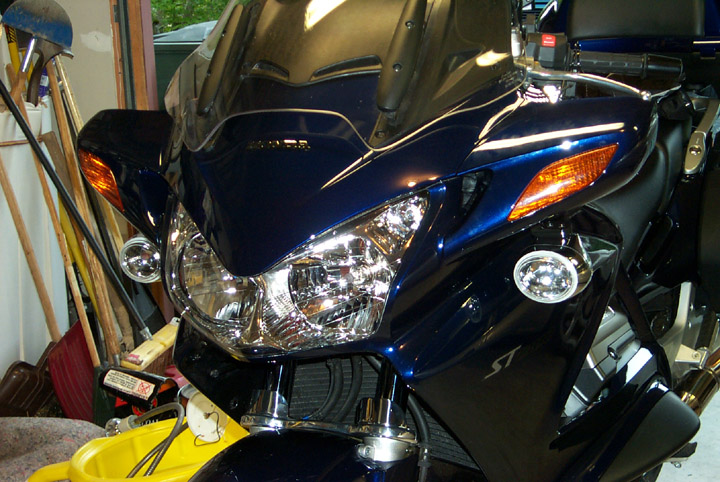
Side view.
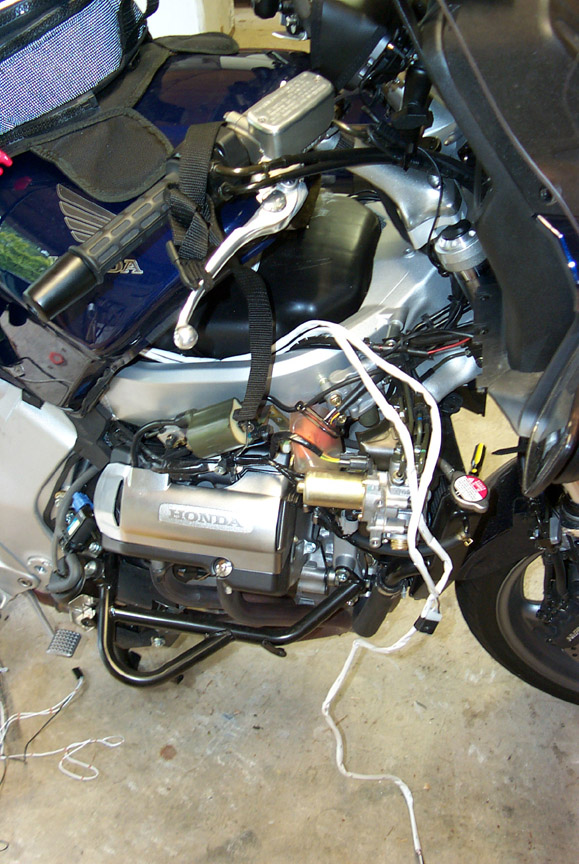
Feeding the wire harness under the tank on the right side of the bike.
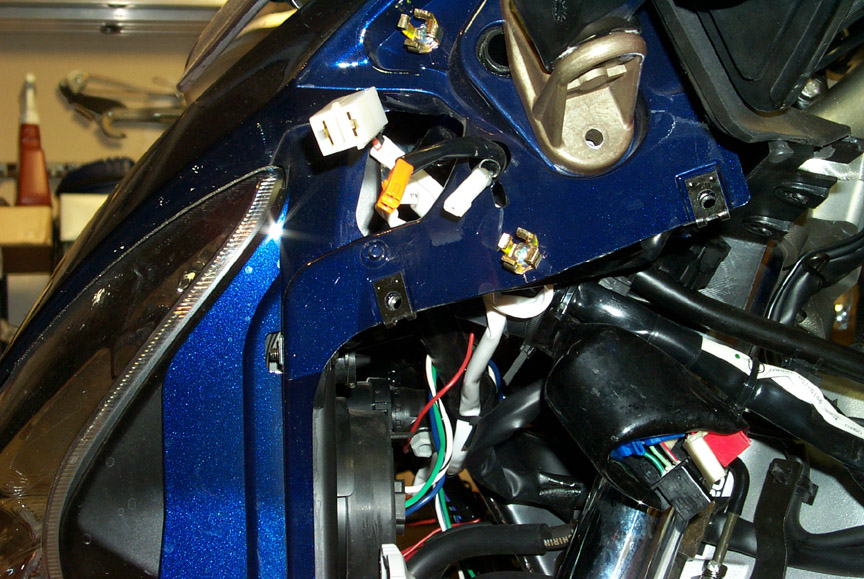
The harness reaches very nicely to the holes in the fairing.
PIAAs back in place and wired up. Black loom used to hide the PIAA wires.
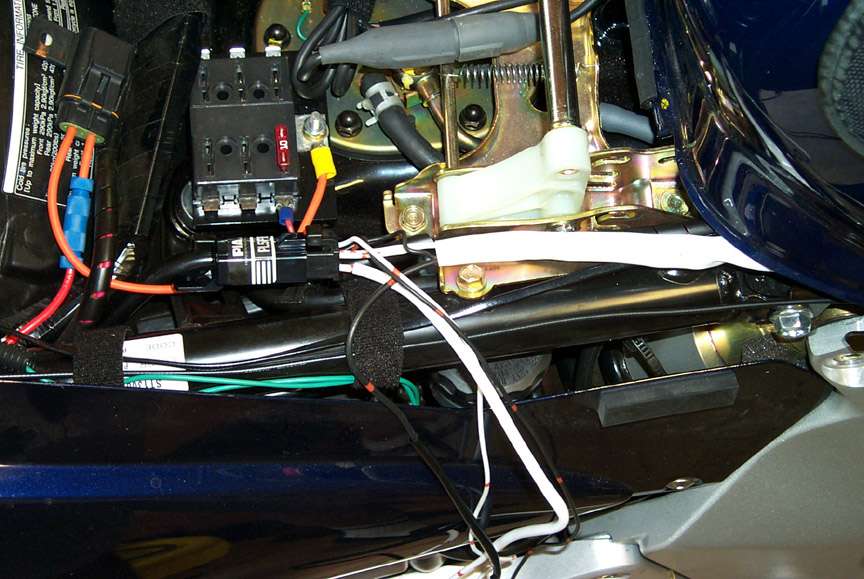
The PIAA relay fits nicely under the seat here.
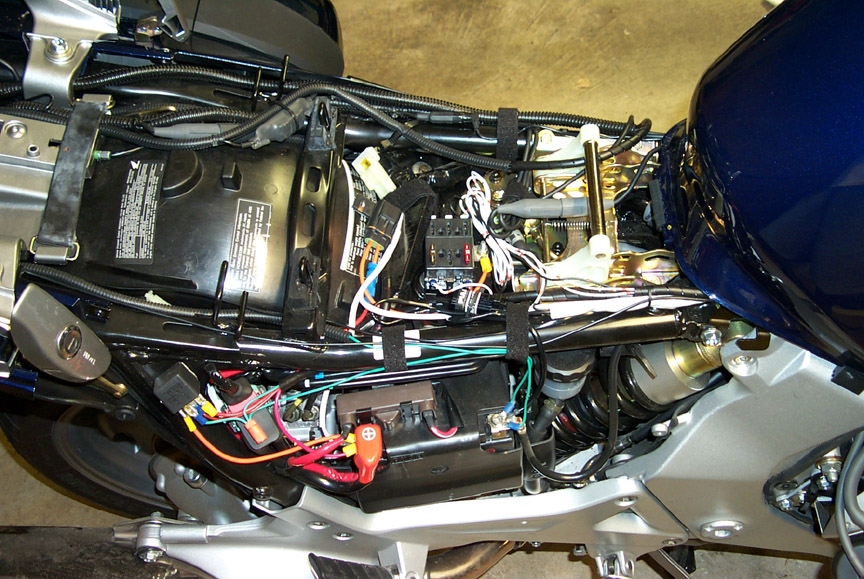
All hooked up to the battery. The white PIAA 25 amp fuse also accessible
under the seat.
Nice clean cuts in the mirror housing. The wire looms just fit between the
mount
and the fairing.
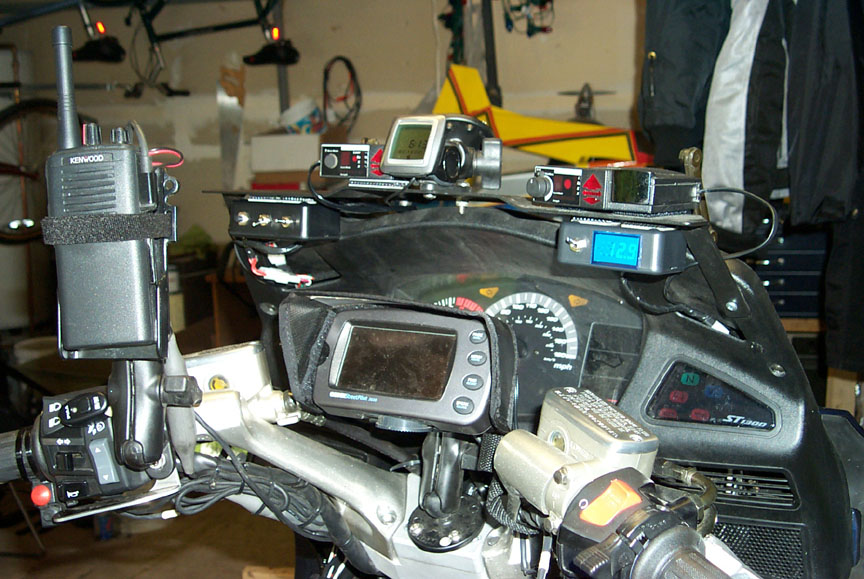
The stock PIAA switch is mounted on the left next to the high beam switch. The
middle switch on the box hanging from
the dash shelf allows the PIAAs to be controlled by the stock PIAA switch, or to
follow the high beams. You can see
more about the switch box here.
NOTE: The mounts and PIAA 912's can be purchased directly from Dick Seng.
Return to ST1300 Farkels page.
Return to Motorcycle links page.